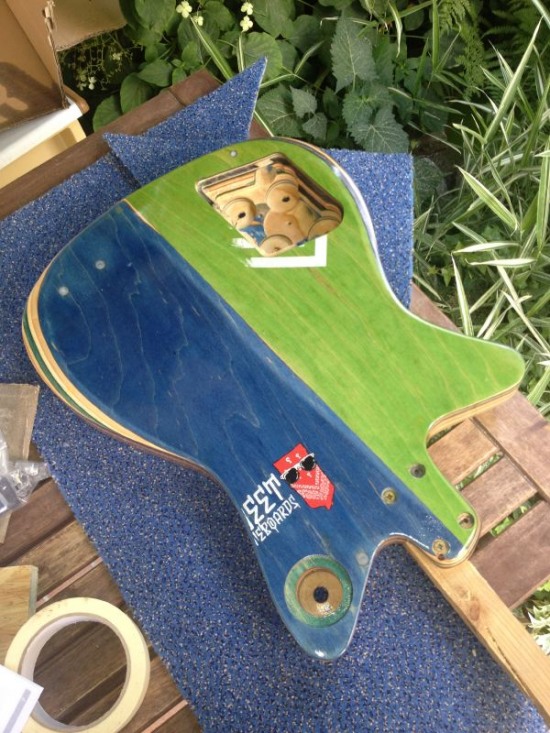
This is a bit off topic… I was working on a little side project during the summer.
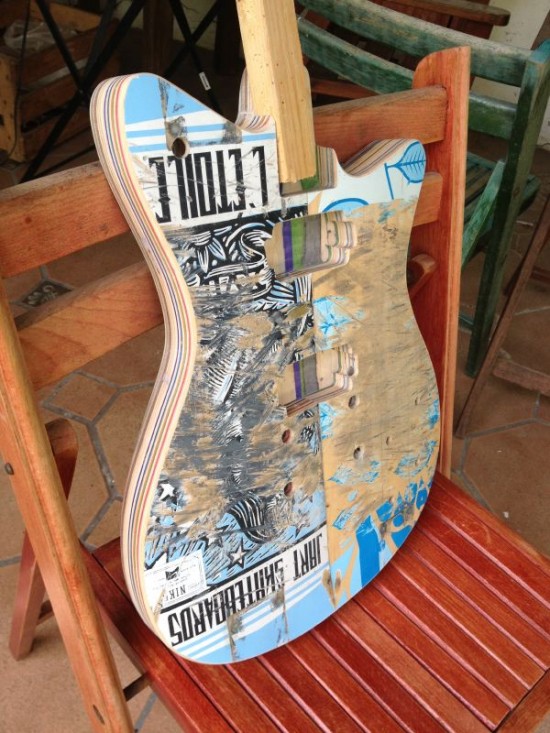
I stumbled upon the great skate guitars by those guys. I was amazed by the idea of building a guitar out of used skateboard decks!
I didn’t really like their „standard“ model, I think it’s too thin and too small but when I saw the model they build for the guitarist of Pearl Jam I was immediately thrilled!
So I wanted to have this one! Being a designer (and a skateboarder and a guitar player) and knowing, that designers can do everything but nothing properly (that’s probably a pretty bad translation from a german saying) I thought, I just build one myself!
The build
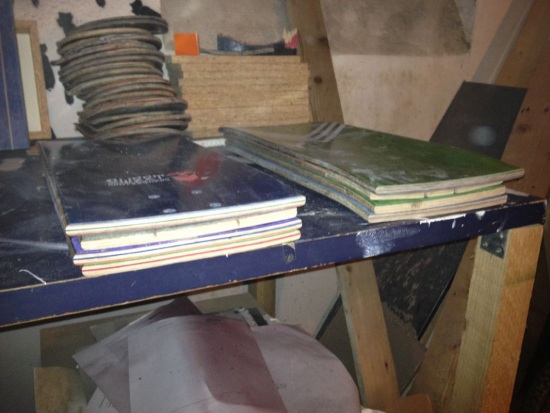
The first step was to get used skateboard decks – unfortunately I recently trashed all of mine because they took too much space. So I had to find them somewhere else – I got 5 from a local skateshop (Thanks Pivot!) but all other skateshops I asked didn’t have any.
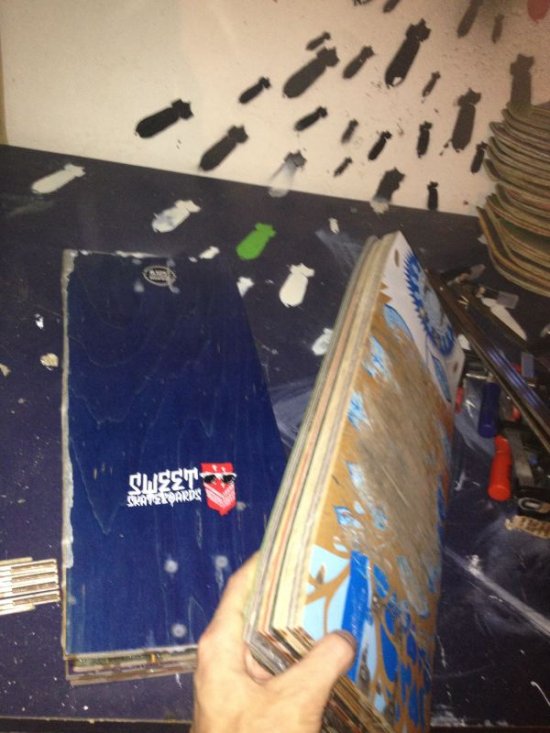
Luckily some skateboarding friends helped me out and eventually I got about 10 decks, 3 of them broken into two.
The biggest issue I had was the question how to glue the decks together. Judging from the pictures of the skate guitar guys it looked like they just use a lot of force (e.g. clamps) to glue them together. I was afraid that this might not work in my case. The decks all had different concave, and skateboard decks are pretty stiff, so bending them is not really possible! I was afraid of having too much space/gabs between the decks.
I discussed it with some friends who know about wood processing so the first idea was to cut 6 of the 7 layers to be able to bend it and create a flat sheet of decks. This didn’t really work. Even the one layer was pretty stiff and when trying to bend it broke.
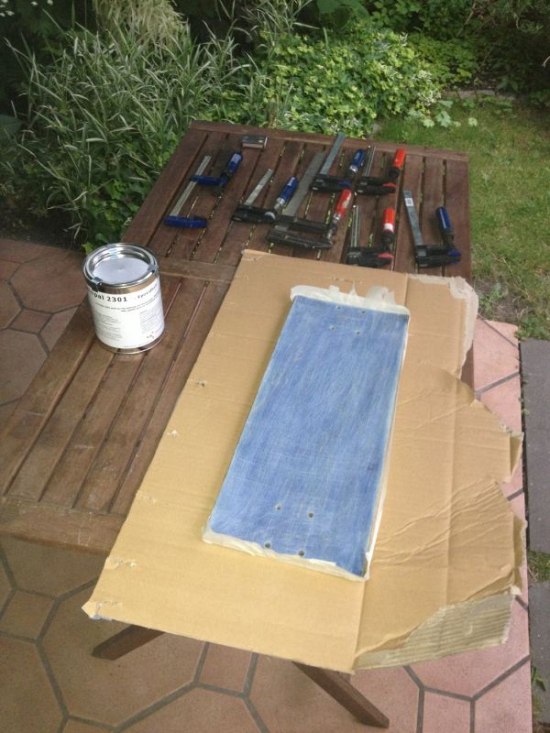
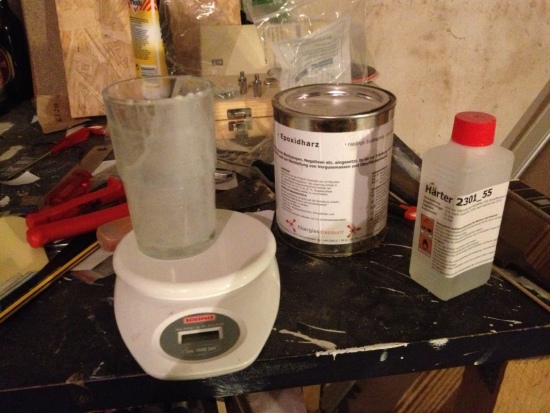
In the end I decided to just use enough epoxy resin to fill the gaps – it was trial and error anyhow…
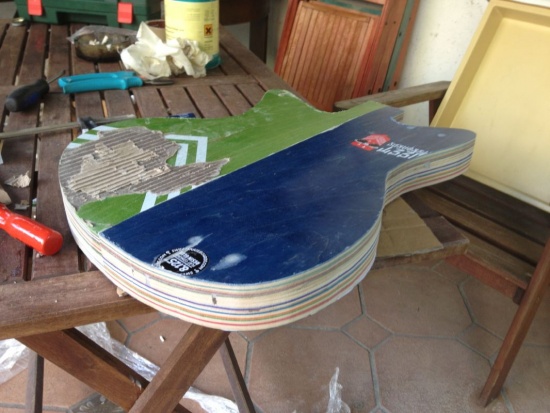
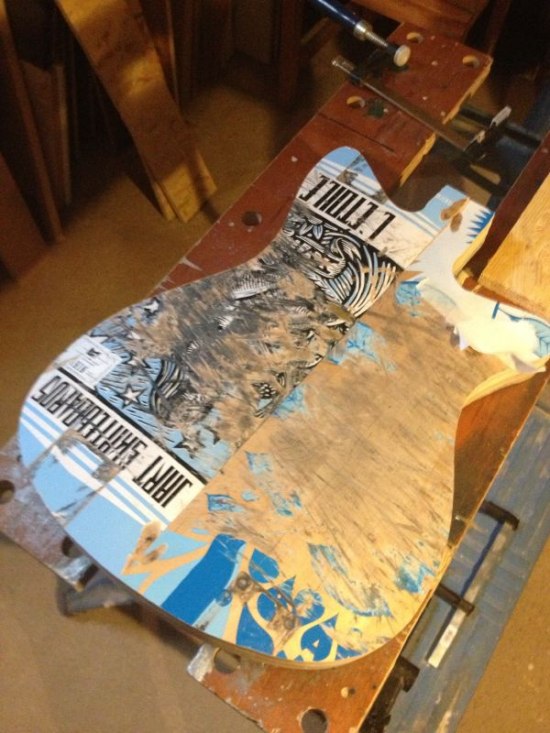
So first step was get rid of the grip tape – a hairdryer is really helpful here.
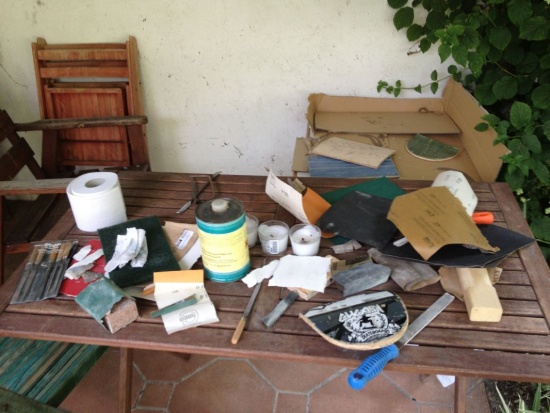
Then I had to sand it – I started doing this by hand for the first two decks but then got me a tool for the drilling machine, which was a time saver.
Next step was to cut off nose and tail. Luckily I got help from a friend with the next major steps.
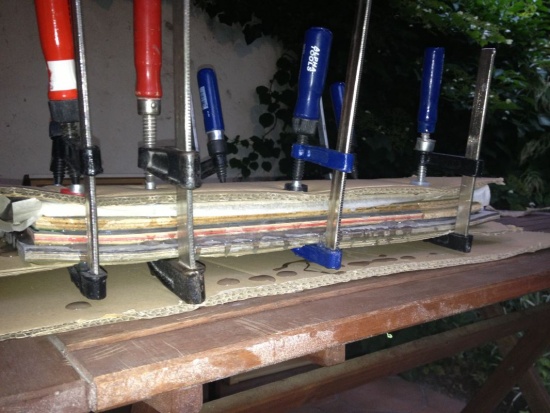
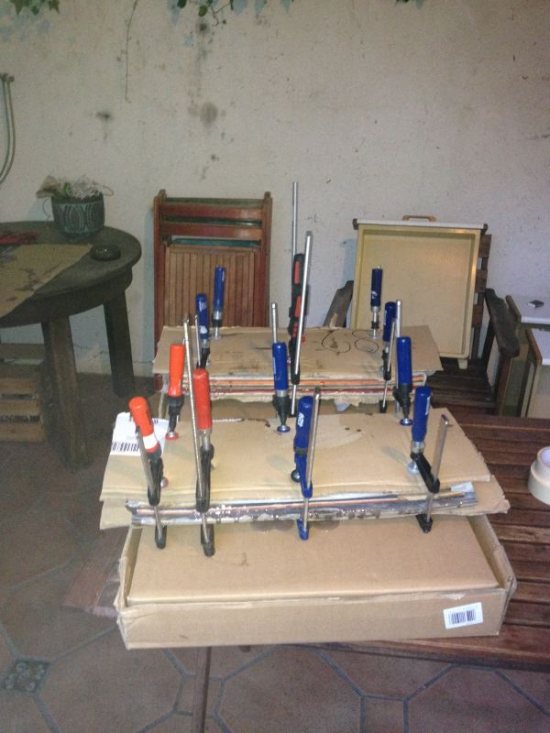
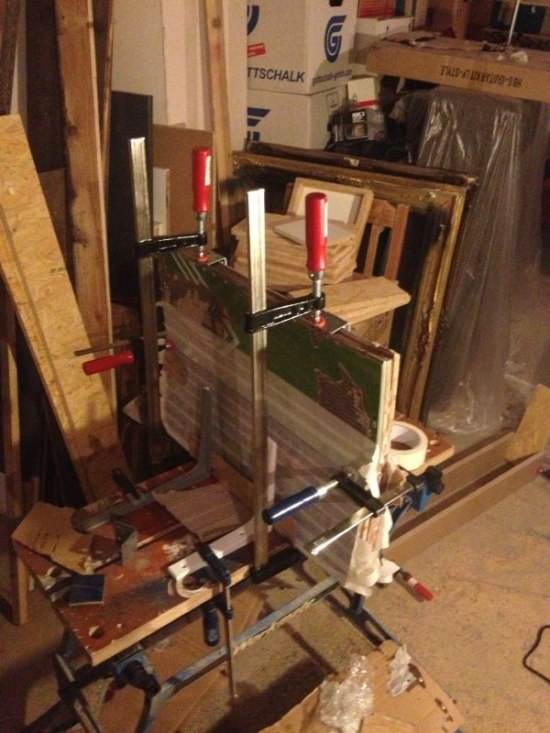
In between I ordered epoxy resin from amazon – so now was the time to glue the decks together. We figured out the more camps you have the better, we could have used some more but it also worked with about 8 for each package.
We put a good layer of resin on each deck and then placed the next on top of it. On one side we forgot to cover the surface of the first deck – so resin flowed over which we had to sand away later.
After waiting 24h the stuff was dried.
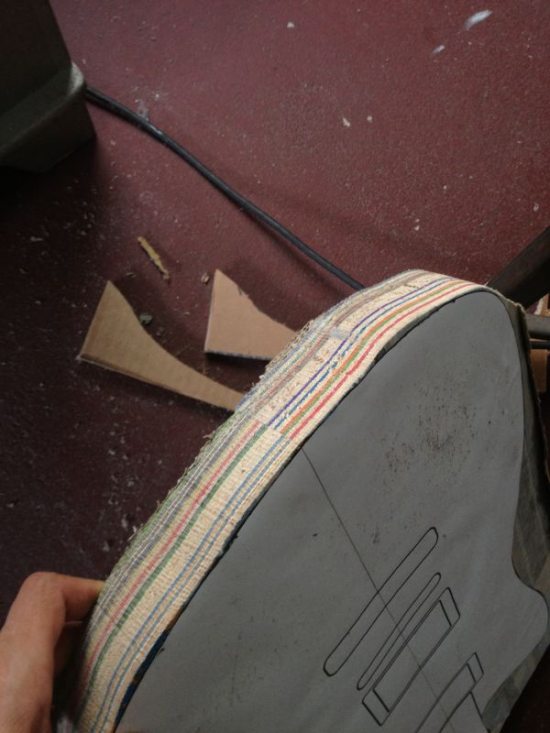
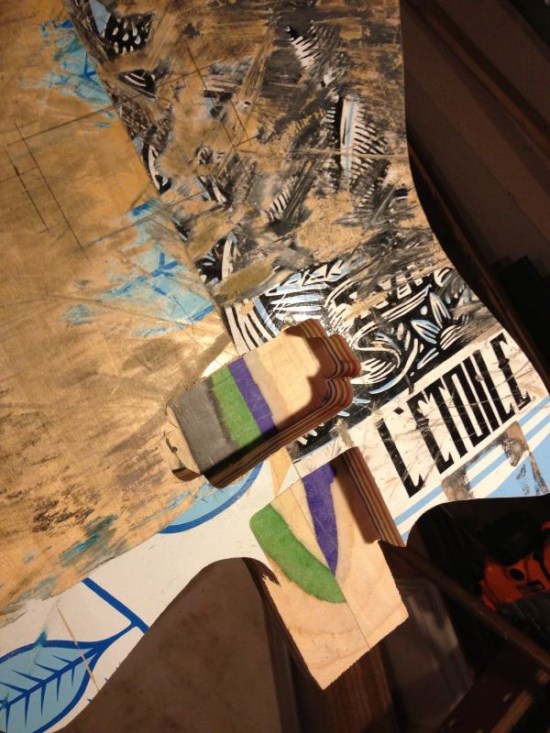
Now was the big moment – we cut off one side of each package in order to glue them together – surprisingly there were nearly no gabs visible – the decks nearly fitted perfectly on top of each other!
All hail epoxy resin! This stuff is amazing!
After being surprised that we actually made it this far I started taking care of some stuff.
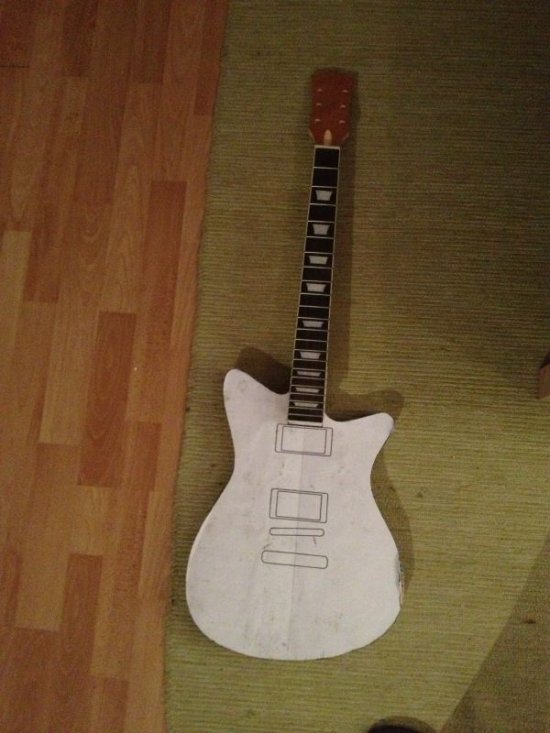
I decided to go for a Les Paul guitar kit und use everything except the body. This set was surprisingly pretty cheap, just 89€.
I got me a book called “E- Gitarrenbau. Eine Selbstbauanleitung“ by Martin Koch
This book is like the bible of guitar building, it explains everything going into the tiniest detail.
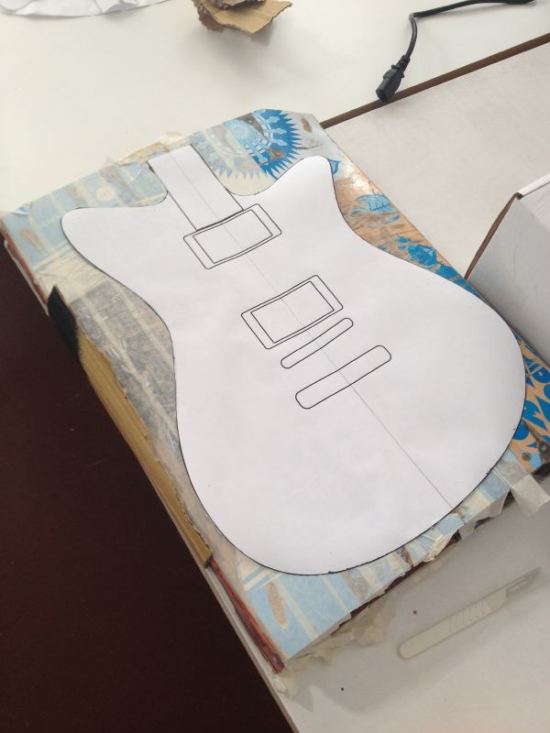
In parallel I started laying out the design on the computer – I really liked the shape of the Pearl Jam guitar, the proportions worked really well. So I copied it and then did some modifications to it.
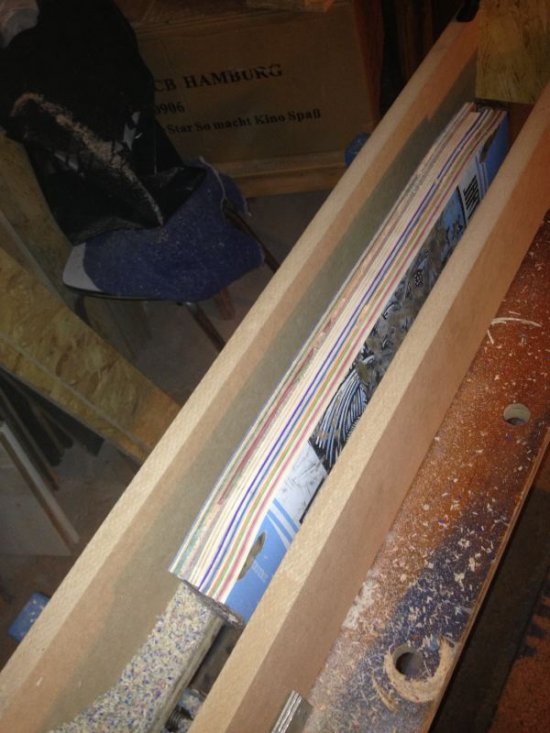
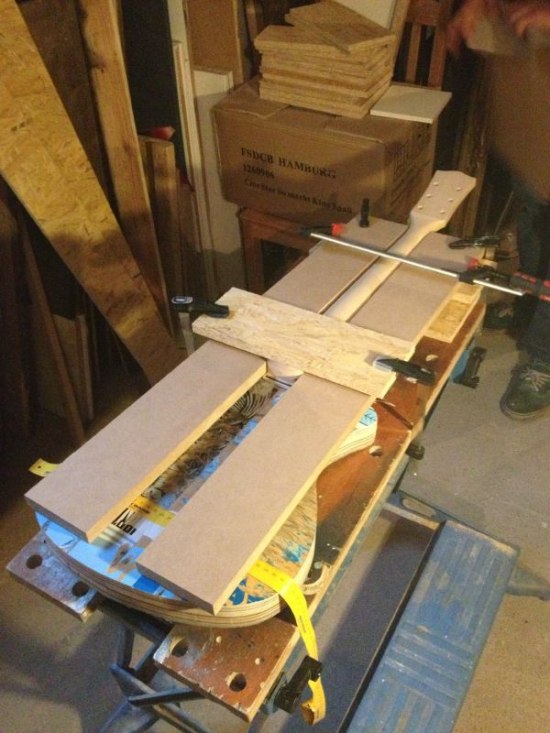
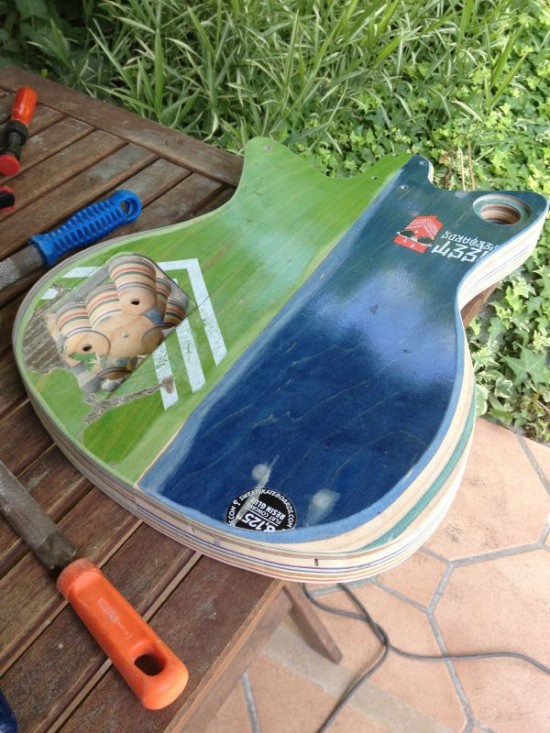
The next step was to glue the two parts together. We figured out we had to put them together at a slight angle in order to have a curved surface.
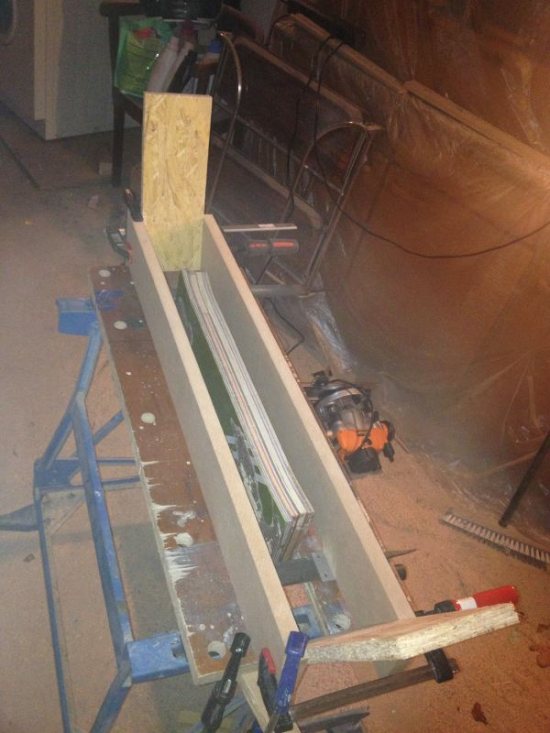
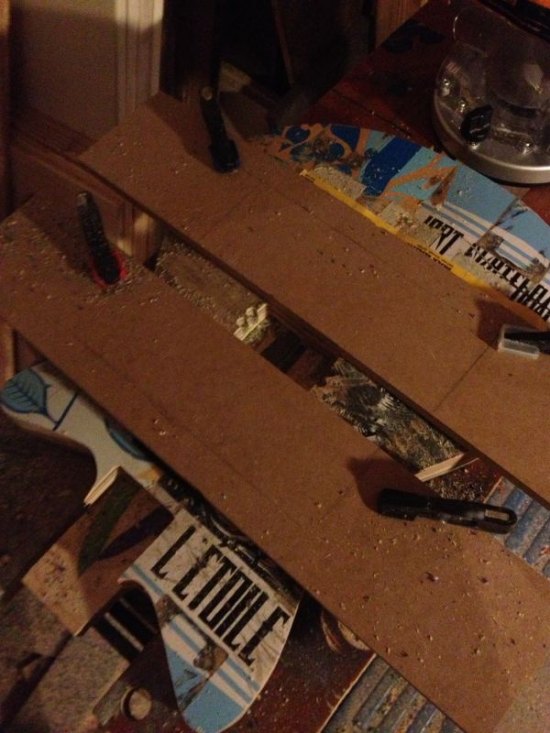
We build a construction for the router to slide in order to get an even surface. After some iteration we finally got the right angle.
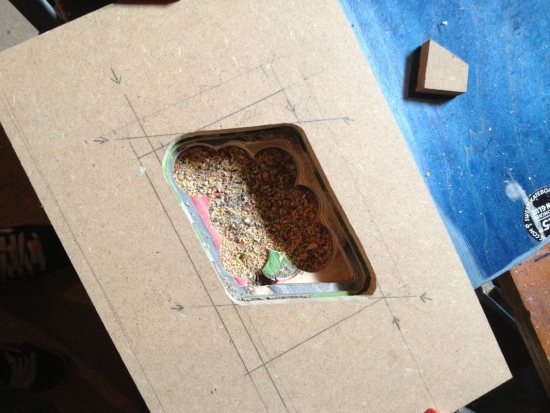
Having never really used a router (ok, in university one time but that’s a while ago) the biggest issue was building the templates and the guides for it – you just adjusted everything the right way, then you put the router in and boom – the routers body hits a clamp – aargh – so redo everything and start again – putting the templates and guides in the right position was the part which was the most time consuming.
We glued the parts together – again, hello epoxy resin – and after 24h it was done.
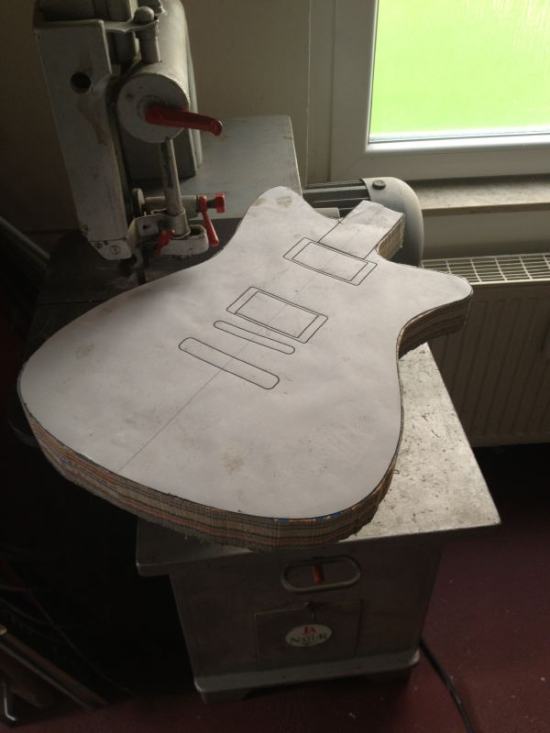
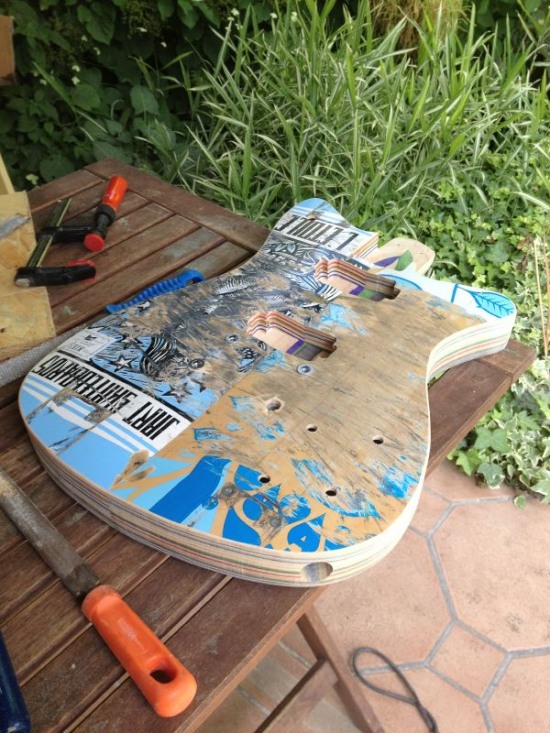
Before cutting the body shape I did a test on a piece of cardboard. It looked good so I started sawing using a band saw. It worked pretty well!
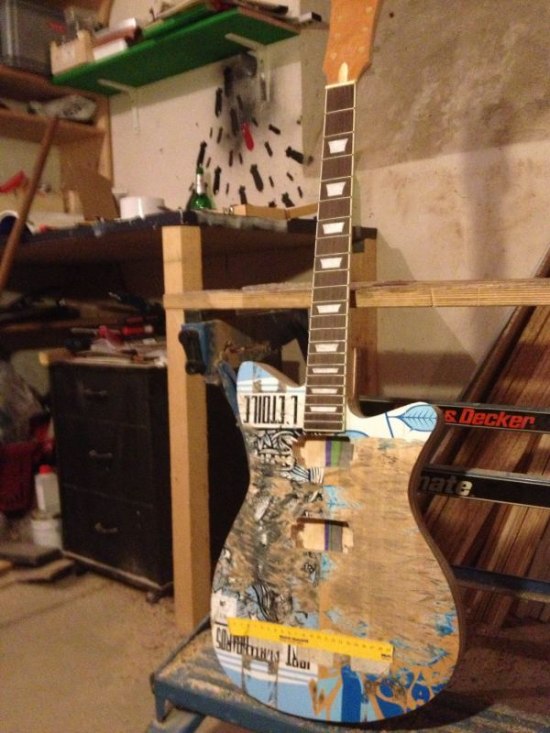
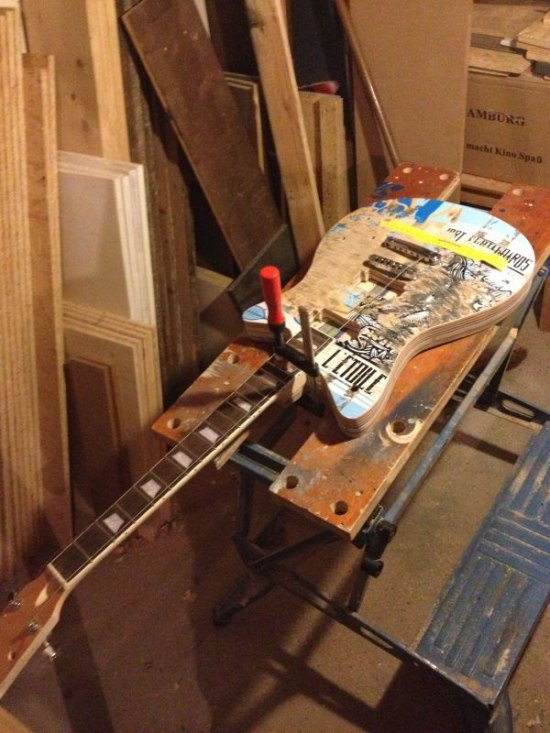
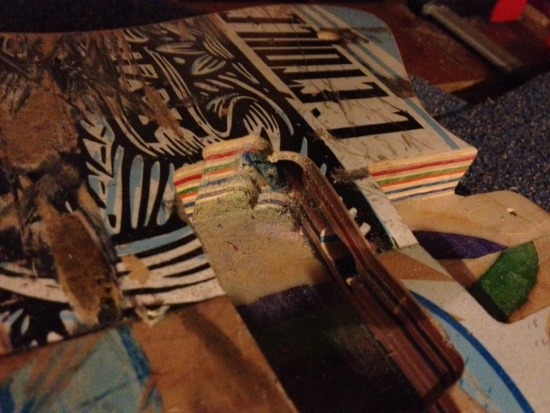
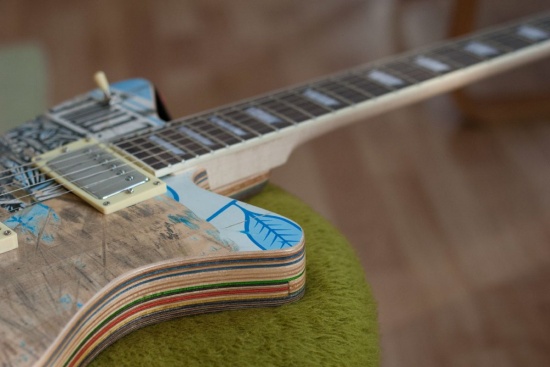
After some sanding we started fitting the neck into the body. For this we used a construction described in the guitar book, which worked pretty well. Again we had to do some iteration, the neck had to be attached with a small angle because of the height of the bridge.
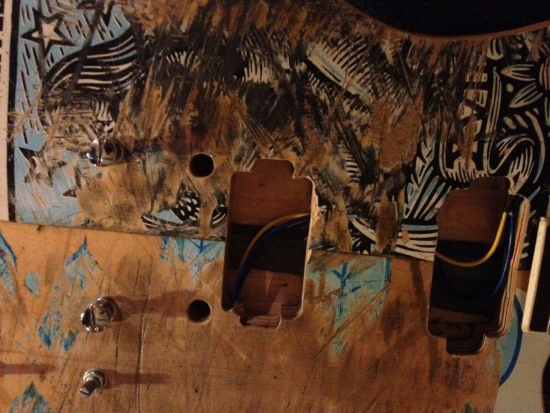
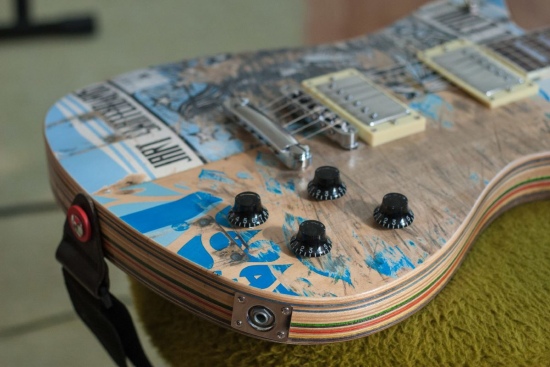
Next thing was to mill the pickup chambers. This was a bit rough, but the pickup frames cover the slightly messy work ;-)
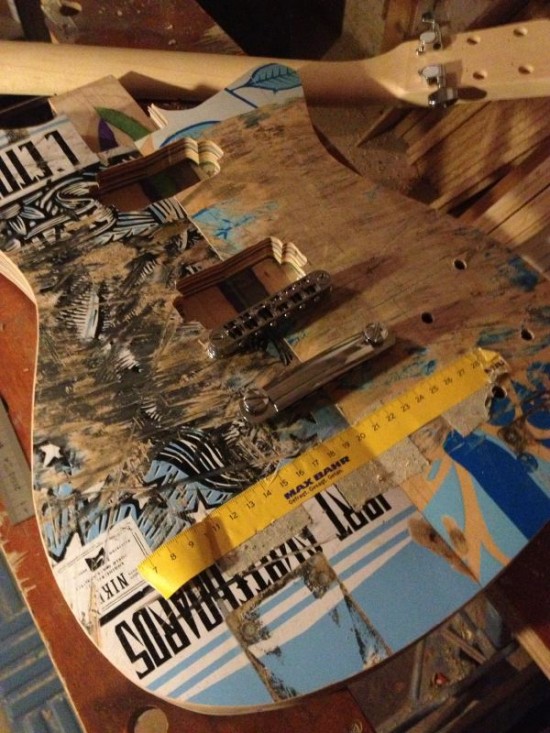
We got a bit nervous when drilling the holes for the bridge. This had to be pretty precise, otherwise the scale was off and the guitar would not be correctly tunable.
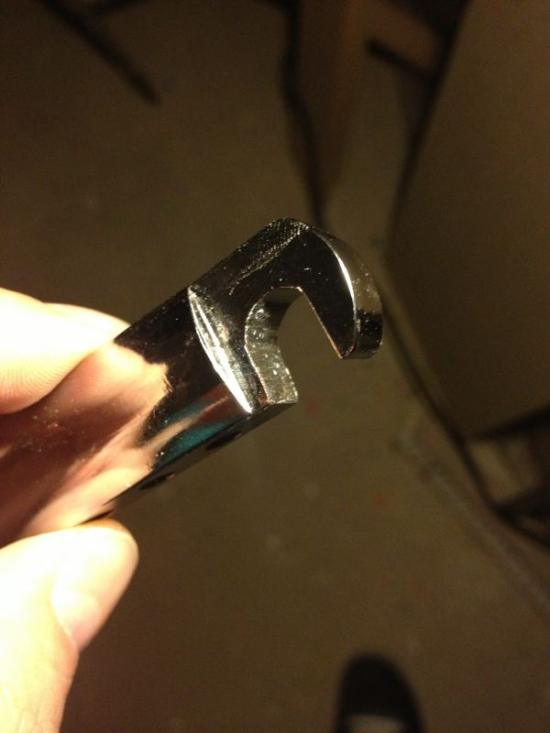 Arrgh - I had to remove some material from the tail piece because I misplaced the two screws slightly - but it worked that way
Unfortunately as we found out later we did a measurement mistake – the scale turned out to be too short.
After searching the net, this seemed to be the best description I could find to place the bridge.
Without having recognized this error, we continued in milling the chambers for the electronics and continued sanding.
Finally the time had come for the paint job. I had to slightly roughen the surface so that the clear coat could actually stick to it. After talking to a friend who knows how to do such things I got me some abrasive fabric and and sanded the surface very slightly without destroying the graphics.
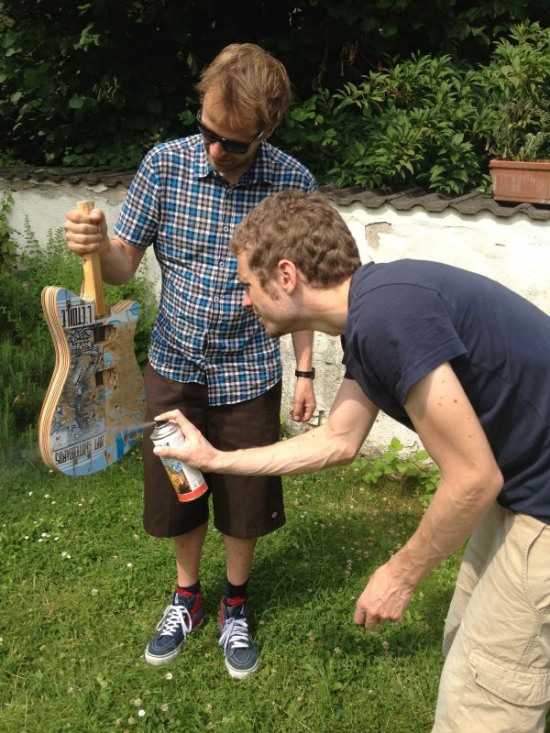
I started painting, unfortunately, the can got empty after a first layer. So I got me another one but I should have checked the quality first. This stuff was not really nice to work with. First I nearly got a heart attack, the clear coat turned semi opaque! Luckily it disappeared after 2 days but in total it took about 5 weeks to completely dry.
 The clear coat paint I used - I should have got me a new one, it was a can I still had - it must have been directly coming out of the 80's - lacquering flowers with such a haircut nowadays?!?
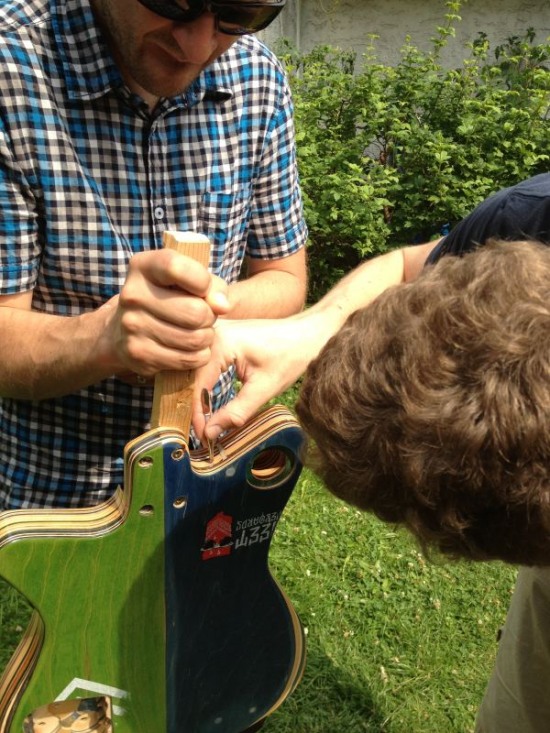
After about one week it was dry enough to continue working on it. I attached the neck – surprisingly it fitted perfectly, the angle was absolutely correct!
I also put in the hardware. For this I had to drill holes to connect the pickup and electronic chambers in order to do the wiring. This was a bit messy, since the cables were connected using plugs (no soldering) and those plugs needed huge holes. I had to drill multiple times.
Now having the guitar fully assembled it turned out to be incredible heavy!
I haven’t measured it but maybe its double the weight of my strat.
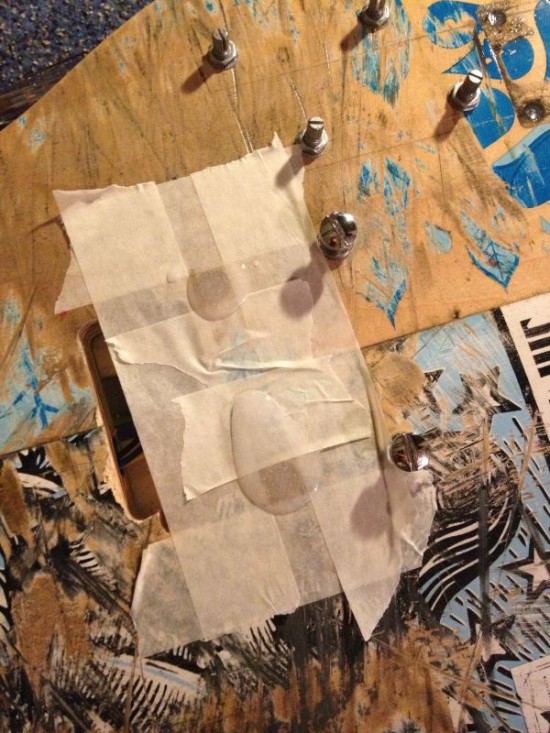
I started drilling some holes into the body coming from the electronic chamber. After doing some calculations, I figured out that the 5 holes I was able to drill did save maybe around 100g – so this didn’t have a huge impact ;-)
Then I found out about the scale, which was too short!
Ok, quick freak out…
The only solution was to fill the holes and drill new ones about 5mm behind the old ones. I filled them with epoxy resin and found out that epoxy resin tends to shrink!
So I added some wood paste to make the holes even and drilled the new holes. This time the scale turned out to be correct!
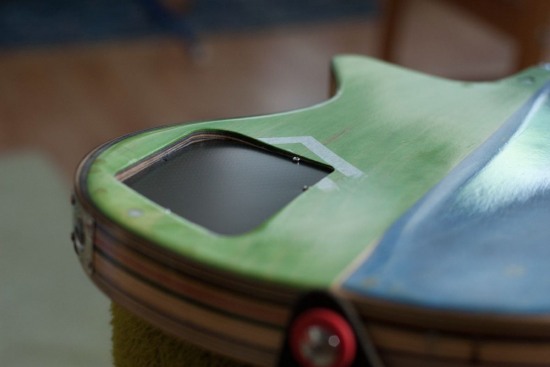
The last step was to cover the electronic chambers. I wanted to have a carbon cover. I ordered a sheet on ebay (6€) to find out that you can’t cut a 1mm carbon sheet with standard tools. Ok, so I went for a 0.3mm sheet – I was able to cut this with a scissor!
Installed on the guitar, 0.3mm carbon sheet feels pretty thin, a bit like paper.
Result
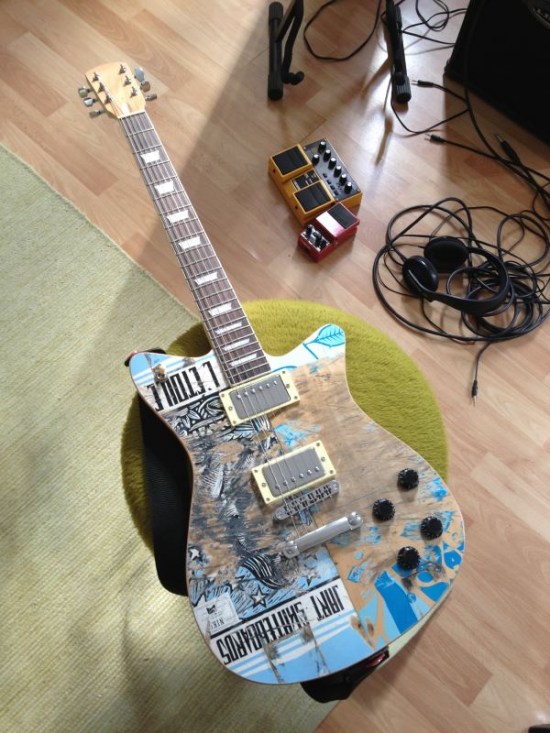
I’m pretty happy with how it turned out in the end. I didn’t expect that this experiment actually would have worked. As mentioned earlier the guitar is really heavy (need to put it on a scale) but the sound is actually pretty ok – at least to my untrained ears. I spare you a soundfile here, my playing is nothing to show off, same as the guitar sound ;-)
There are quite a few things I would like to change during the next months. The electronic parts are actually pretty crappy, especially the volume poties, they act more like switches than poties. I also want to get some used pickups on ebay to play around with.
I also want to improve the electronics chamber. The milling we did wasn’t really precise – the template was a bit rough. The idea is to lay one out on the computer, lasercut it somewhere and mill it correctly. This way I could also save some grams.
If I would have knew that it actually works this good I wouldn’t have chosen the cheap Les Paul kit and probably would have got me a decent neck and hardware. But still I’m totally happy with how it came out.
Check out the update. I replaced the electronics hardware and did some modifications to the electronics chamber.

 Back to HOME